✣ RUNWARE

Image workflow

A beginner's guide to how to use runware ai

Start with a clear image brief, choose a compatible model, then inspect the result before changing your prompt. This guide separates the general Runware workflow from controls that may differ between interfaces and API integrations.

Check the destination's available tools
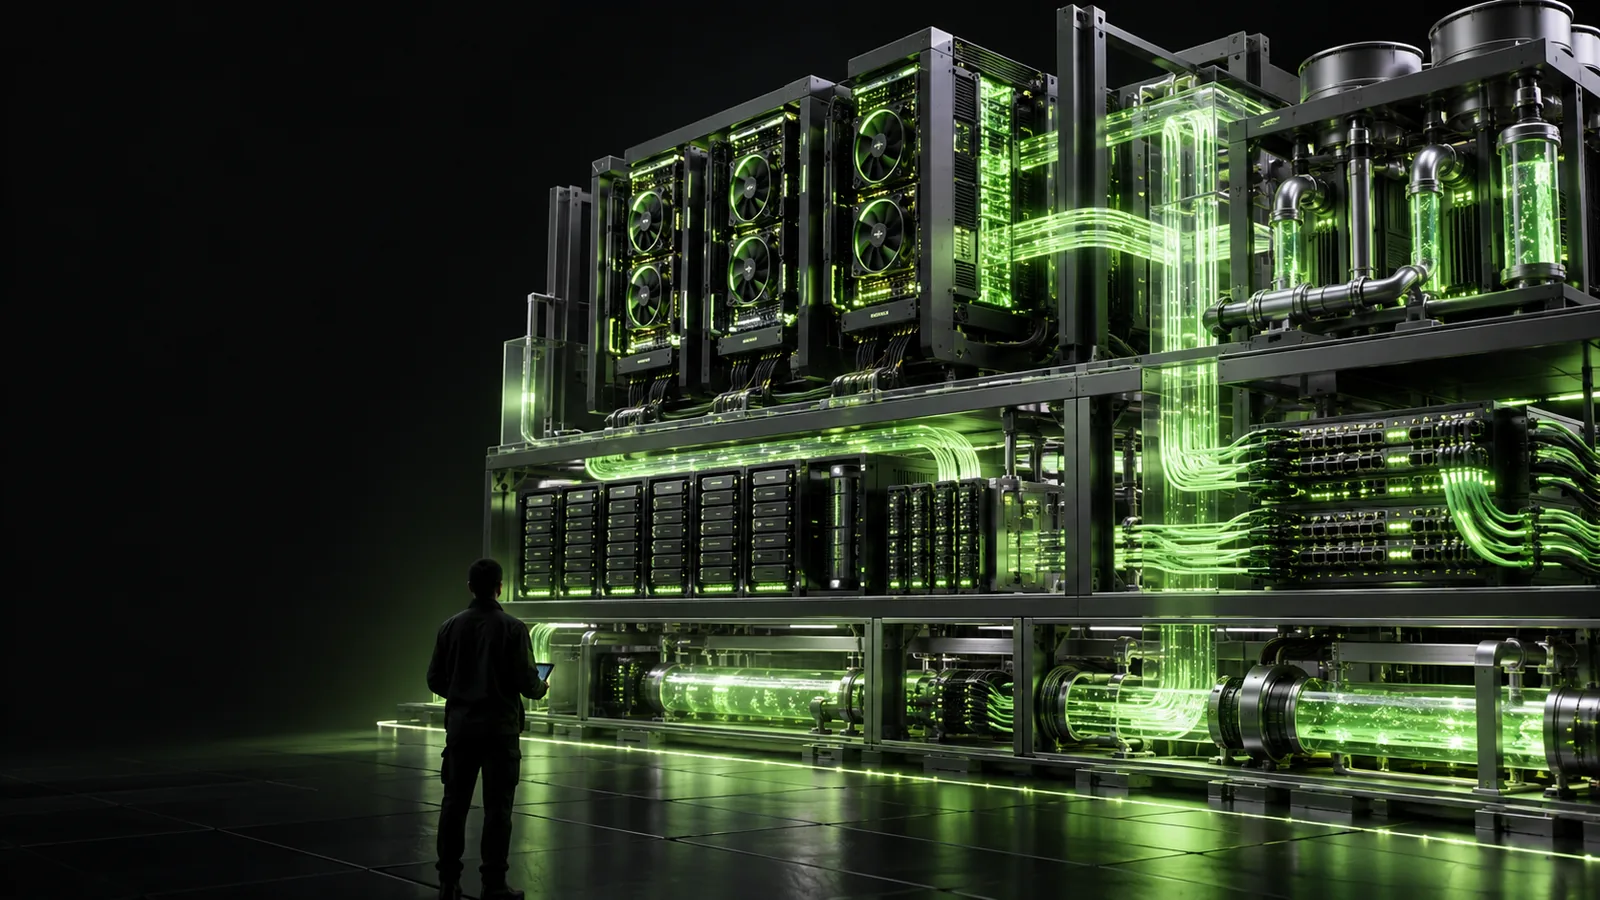
Runware site imagery illustrating an AI image generation workflow

numbered steps

Use this sequence whether you are exploring a visual interface or preparing a request for an application.

  1. 1

    Write the image brief

    Describe what should be visible rather than asking for a vague mood alone. Name the main subject, its setting, lighting, and composition. For example, specify a ceramic teapot on a pale green table with soft light entering from the left. Keep text requirements separate: image models may render lettering inconsistently.

  2. 2

    Find a suitable model

    Look at the models available in the Runware interface or documentation you are using. Check that the model supports your intended task and read its input requirements before adding optional settings. A model name or setting shown in one integration may not appear in another.

  3. 3

    Set only the options you understand

    Start with the required inputs and accept the available defaults for everything else. If the interface offers image size, aspect ratio, or other controls, adjust them only when they serve the brief. In an API workflow, follow the current documentation for field names and required identifiers.

  4. 4

    Submit and inspect the result

    Run the request and look for the requested subject, layout, and lighting. Also check for unwanted text, missing objects, or details that matter to your use case. Save your prompt and the relevant settings alongside a result you want to revisit; an image alone does not record how you made it.

  5. 5

    Revise one variable

    If the composition is wrong, change the composition language before changing the model or several settings. If the style is wrong, make the style description more concrete. Changing one variable at a time helps you tell which edit actually improved the image.

common errors and fixes

Use these checks before treating an unsuccessful request as a model failure.

You must have

Without every one of these the route does not run.

  • Confirm that the selected model supports image generation.

    A model intended for another task may reject the request or produce an unexpected type of output. Check its documented task and inputs, then select an image-generation model if that is your goal.

  • Include every required input for the chosen model or endpoint.

    If a request fails validation, compare its fields with the current documentation. Check identifiers, prompt fields, and accepted value types rather than guessing which optional setting caused the error.

  • Check the access method you are actually using.

    An API integration may require credentials and request headers that a visual interface handles differently. Do not paste a secret into a public prompt box or share it in a screenshot.

Nice to have

Skip any of these and the route still works — they only make it faster.

  • Keep a copy of the prompt and settings that produced each useful result.

    Without that record, it is difficult to distinguish a prompt change from a model or settings change. Record errors too, including their exact wording, before retrying.

  • Begin with a simple brief before adding complex constraints.

    A crowded prompt can make it hard to identify why an object is missing. Test the main subject and composition first, then add details in small groups.

advanced tips

Once a basic request works, make your iterations easier to evaluate rather than changing everything at once.

Turn the brief into a visual checklist

Separate the prompt into subject, setting, composition, lighting, and style. After generating, assess each part against the resulting image. If the subject is right but the framing is wrong, revise the framing instruction instead of rewriting the whole description. This gives you a more useful next test.

Prompt check

Ask whether each phrase describes something you can actually inspect in the output.

Compare results under consistent conditions

To assess a prompt revision, keep the model and other available settings unchanged. To assess a model change, reuse the same brief where the models accept comparable inputs. Outputs may still vary, but a consistent test makes differences easier to interpret than a collection of unrelated images.

Fair comparison

Record what changed between attempts; do not attribute every difference to the prompt.

Handle errors as information

An error message is more useful than repeated blind retries. Read whether it points to a missing field, an unsupported option, an access issue, or a temporary failure. Fix the identified cause and submit a smaller request if the source remains unclear. For API work, consult the current endpoint documentation before changing request structure.

Debug rule

Copy the exact error and remove secrets before sharing a request for help.

Save a reproducible working example

Keep the successful brief together with the model identifier, relevant options, and the integration or interface used. That record helps when you need a related image later or when an application behaves differently after a change. Treat it as a starting point, not a guarantee that every future result will match.

Keep context

A saved image is not a complete record of the request that produced it.

Put your image brief to work

Take the subject, composition, and lighting notes you prepared here to the linked generation platform. Runware and the linked destination are separate services, so check the destination's models, controls, and access requirements before submitting.

Explore image generation
  • Begin with a specific, inspectable brief
  • Check the available model and its inputs
  • Revise one variable after reviewing the result

tutorial FAQ

Write a brief that names the subject, setting, composition, and lighting. Then choose an image-generation model available through the Runware interface or integration you are using, provide its required inputs, and review the result. The exact controls depend on that interface and model.

If you are making authenticated API requests, follow the current Runware documentation for the credentials and headers your integration requires. A visual interface may handle access differently. Never put credentials inside an image prompt or publish them with an example request.

First confirm that the model supports the image task you want to perform. Then check its documented inputs and use a simple prompt to establish a baseline before comparing results. Do not assume that settings accepted by one model will work with another.

Read the exact error before retrying: it may identify a missing required field, an unsupported value, or an access problem. Compare the failing request against the documentation for its selected model and endpoint. If the cause is unclear, remove optional settings and test a smaller request.

Look for a visual interface that offers the image model and controls you need, then follow its own access instructions. The prompt-writing and review steps in this guide apply whether you use an interface or an API. A visual tool's available models and settings should not be assumed to match a particular Runware API integration.

Explore models
Explore models